The SmartAssist search assistant aids you in performing various tasks in CaseMap. It allows you to search for CaseMap user-driven functions using keyword searches in performing functions such as:
| • | Navigation -- navigate to a spreadsheet |
| • | Search -- Perform full-text search using search parameters |
| • | Reports -- Launch the report wizard and/or print specific report(s) |
| • | Tasks -- Execute a specific function (e.g., for a record, you may copy/delete it; whereas for a case, you may find/replace it) |
| • | Options -- Open the CaseMap application options dialog and navigate to a specific tab. |

SmartAssist searches may be performed using:
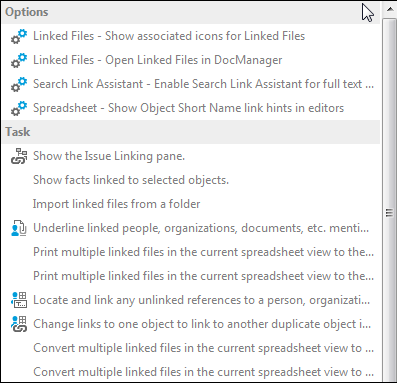
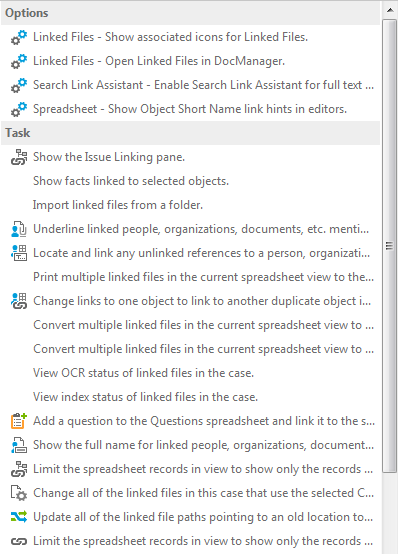
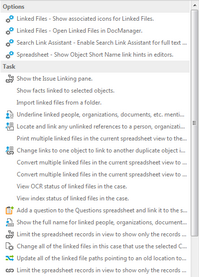
| • | a single term — (e.g., linked) to display a list of options and/or tasks that uses the search term 'linked'. The search results returns a display that are grouped by category type (e.g., Tasks). |
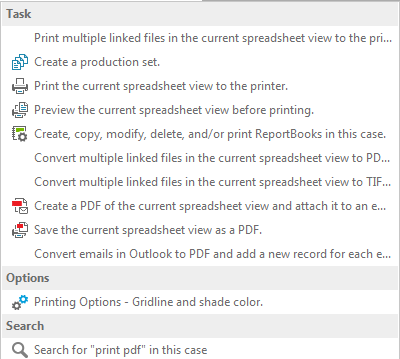
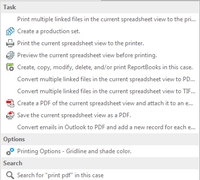
| • | phrases — (e.g., print PDF) to display a list of options and/or tasks that uses the search phrase 'print PDF'. The search results returns a display that are grouped by category type (e.g., Tasks). |
| 1. | In the SmartAssist Search box, type in your search term/search phrase (e.g., linked). |
The SmartAssist Search results box displays.

|
You can click the ESC key on your keyboard to clear entries in the SmartAssist Search box.
|
| 2. | In the SmartAssist Search Results box, select/click the desired item in the Search Results list to perform its specified function (i.e., Reports, Tasks, Options, etc.). |

|
Items in the Search Results list use hyperlinks to execute the specified function. Click on the hyperlink to perform its associated action.
|
|
| 1. | On the File menu, click Options. |
| 2. | In the Options dialog box, click the SmartAssist tab. |
| 3. | Clear the Show SmartAssist search box when opening CaseMap check box. |
| 4. | Click OK to save your changes. |
The SmartAssist element is removed from the CaseMap ribbons.
|
By default CaseMap use ribbons to provide access to the most commonly used tasks and functions. To use SmartAssist while in the Accessibility mode:
| 1. | On the File menu, click Options. |
| 2. | In the Options dialog box, click the Accessibility tab. |
| 3. | Under Accessibility Options, select the Use standard Windows menu in place of ribbon check box. |
| 4. | In the dialog box, read for understanding, and then click OK to continue. |
| 5. | In the Options dialog box, click OK to save your changes. |
| 6. | Close and restart the CaseMap application. |
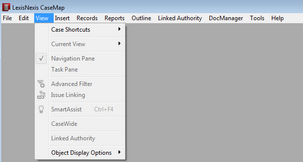
| 7. | When CaseMap re-opens, click the View tab. |
The SmartAssist element is displayed in the listing.
| a. | Click the Tools tab, and then click Options on the menu list. |
| b. | In the Options dialog box, click the Accessibility tab. |
| c. | Under Accessibility Options, clear the Use standard Windows menu in place of ribbon check box. |
| d. | In the dialog box, read for understanding, and then click OK to continue. |
| e. | In the Options dialog box, click OK to save your changes. |
| f. | Close and restart the CaseMap application. |
|
|