| 2. | Click File, then click Document Production. |
| 3. | Do one of the following to select the initial inclusion criteria for documents. |
| • | Click All Documents and then click Next. |
| • | Click Saved Filter, select a filter from the list, and then click Next.
The wizard builds a list of documents to be included in the production output.
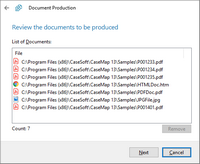 |
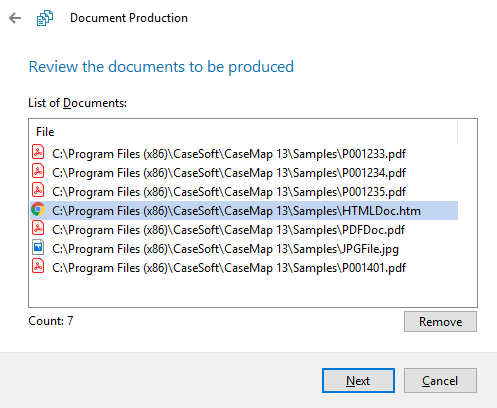
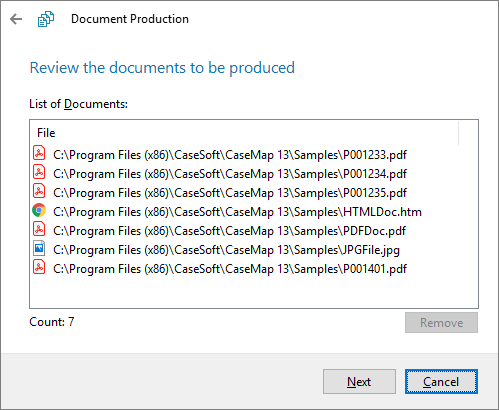
| 4. | Review the list. Optionally, select any documents you want to remove from the production. Press Shift+click to select a range of files. Press Ctrl+click to select multiple files in the list. Click Next.
The wizard displays the Bates numbering options. |

| 5. | Select options for applying Bates stamps to the production copies of files, and then click Next: |
| o | Bates number prefix, starting number, and number of digits |
| o | Font family, size, and style as bold or italic |
| o | Location of stamp on document |
| o | Shrink document image. If selected, this option shrinks the output page image with space for the Bates number to print clearly on the page margin.
|

|
If source documents already contain Bates numbers, they will remain on final output.
|
The wizard displays the order that documents will be produced.
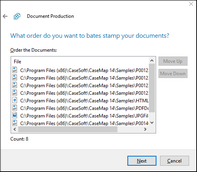
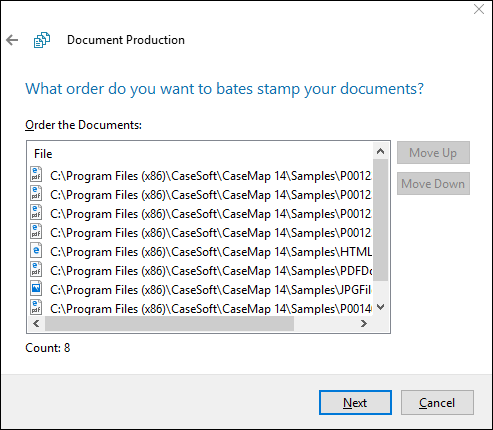
| 6. | Review the order of the documents to be Bates stamped. To change the order of document production select a document then click Move Up or Move Down. Then click Next.
The wizard displays options for applying exclusions based on privilege and redactions applied, and on filtering criteria. |
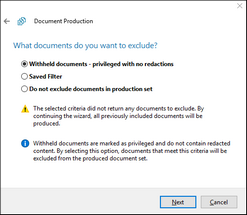
| 7. | Select one of the following options and then click Next: |
| ▪ | To exclude documents that are marked in CaseMap as privileged but have no redactions in CaseMap, select the Withheld documents - privileged with no redactions.
More on this option |
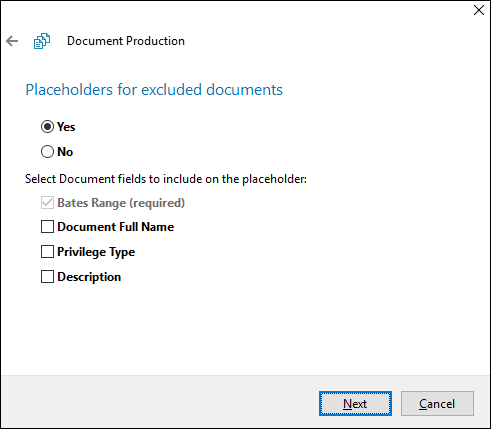
If this option is selected and any document included in the production is marked as privileged, after you click Next, you will be given the option to produce a placeholder for the privileged documents.

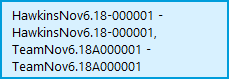
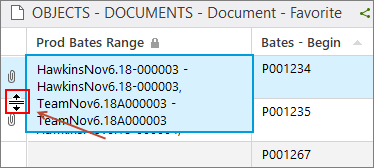
Bates numbers are automatically applied to placeholders for privileged, unredacted documents, but you can also add document name, privilege type, or description.
| • | Select options as needed in this dialog box, then click Next. |
|
| • | To exclude documents based on a filter, select Saved Filter, and then select a filter to use as exclusion criteria. |
| • | To add no exclusion criteria, select Do not exclude documents in production set. |
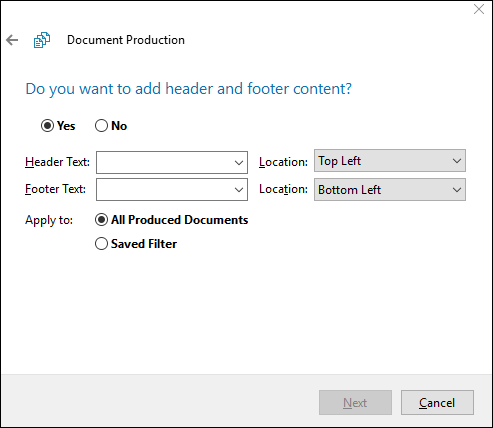
The wizard displays header and footer options.
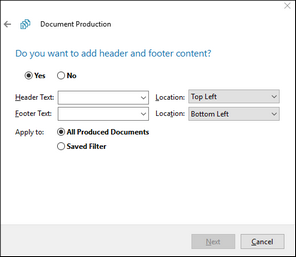
| 8. | Skip adding a header/footer or configure header/footer options as follows: |
| • | To skip adding a header and/or footer, click Next. |
| • | To add header and/or footer, click Yes. Then select header and footer options as needed. If you want the header/footer to be applied only to a subset of the produced files, click Saved Filter, then select one of the available filters. When finished configuring options, click Next.
|
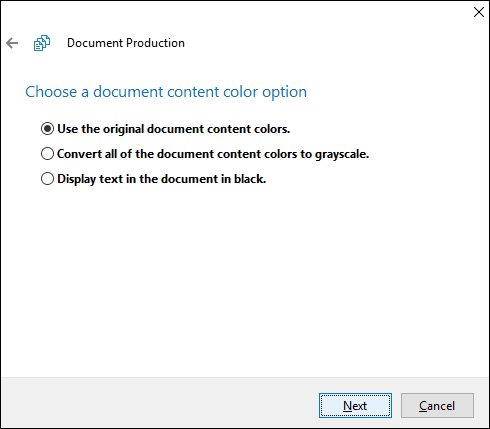
The wizard displays options for color output.
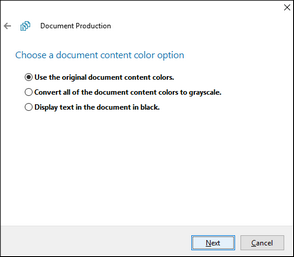
| 9. | Select one of the following options, and then click Next: |
| o | Use the original document content colors. This option transfers the original colors to the production copies. |
| o | Convert all of the document content colors to grayscale. This option converts all colors to grayscale in the production copies. |
| o | Display text in the document in black. This option renders all text in the document in black. |
The wizard displays output format options.

| 10. | Select an output format, then click Next: |
| o | OCR PDF -- This option is available only if all documents in production set have been OCR'd. |
| o | Imaged-based PDF with OCR text file -- This option is available only if all documents in production set have been OCR'd. |
The wizard displays options for production destination folder and file naming.

| 11. | Click Browse, select a folder where you want the files to be copied, then click OK. |
| 12. | Select one of the following options for naming files, and then click Next: |
| o | Use beginning Bates. This option names the file using the number generated from the starting Bates stamp (e.g., 00001). |
|
CaseMap's default behavior is to use the beginning Bates number as the full name and to create the short name.
|
| o | Use original file name. This option reuses the original file name for the new file. |
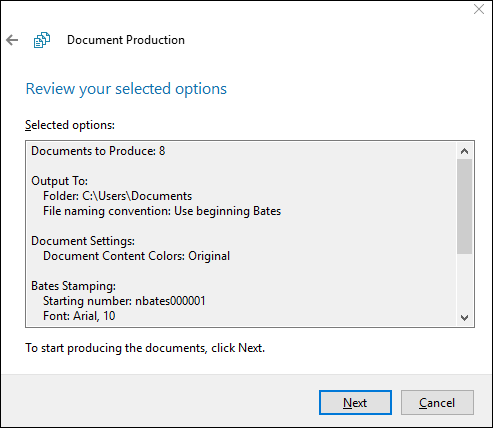
The wizard displays a summary of the production.

| 13. | Review the production details, and then to start production, click Next. |

|
If you want to make a change, click the back arrow to return to any previous screen in the wizard.

|
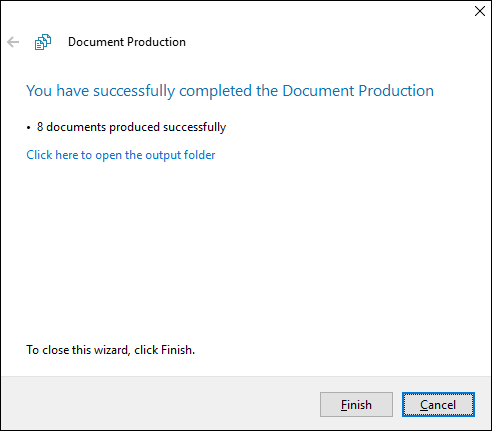
When the production is complete the wizard provides a link to open the production folder.
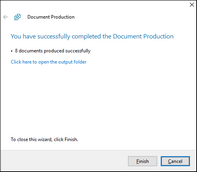
| 14. | Click the link to open the production folder or click Finish. |
|