Zoom and Page View Settings

Contents
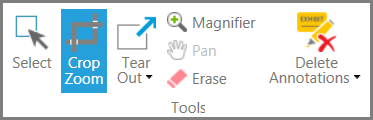
You can adjust the page view in the exhibit viewer by either zooming in on an image, or by setting the layout of the page to one of several preset views..
If you zoom in, you might need to re-center the image by using the scroll bars of the exhibit viewer. |
These are the preset view options:
Fit to page. The entire page view is scaled to the viewing window. . Fit to width. The page view is scaled so that the entire width of the page is visible in the viewing window. This view can be helpful when you want to more easily read the text of a letter- or legal-sized document Fit to height. The page view is scaled so that the entire page can be seen in the viewing window. For wider documents, this view might require that you scroll left and right to view page content located toward the left and right margin of the page. Actual size. The page view is not scaled. If the exhibit is larger than the viewing window, you will need to use scroll bars to see any page content outside the viewing window. |
