| 1. | Click on the CMAdminSetup.exe file to launch the CaseMap Admin Console install utility. |
| 2. | When the InstallShield Wizard launches, click Next. |
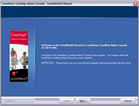
| 3. | In the License Agreement box, select the I accept the terms of the license agreement. |
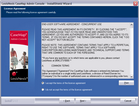
| 4. | Click the Print button to print a copy of the license agreement, then click Next. |
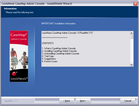
| 5. | In the Information dialog box, review the important installation information, then click Next. |
| 6. | In the Default CaseMap Server dialog box, type in the CaseMap Server in the Name field. |
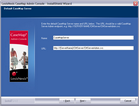
| 7. | In the URL field, type in the Server URL, then click Next. |
| 8. | In the Choose Destination Location dialog box, verify whether the default destination folder is the appropriate location. |
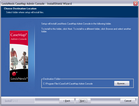
The default folder is C:\Program Files\CaseSoft\CaseMap Admin Console.
Click the Browse button to change the destination folder and choose a different folder.
| 9. | Click Next to continue. |
| 10. | In the Start Copying Files dialog box, review the current install settings, then click Next. |
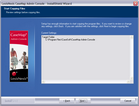
If you want to modify any settings, click the Back button.
| 11. | In the InstallShield Wizard Complete dialog box, select the Launch the CaseMap SQL Admin Console check box. |
Select the View the ReadMe File check box if you want to review the file.
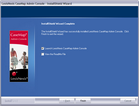
The CaseMap Admin Console automatically launches and is ready for you to register a CaseMap Server.
| 13. | In the Connect to CaseMap Server dialog box, select Local User. |

| 14. | In the User Name field, type sysadmin. |
| 15. | In the Password field, type in password. |
| 16. | Click Connect to continue. |
| 17. | In the CaseMap Admin Console, click the Click here to activate now hyperlink. |

| 18. | In the CaseMap Admin Console Software Activation dialog box, click Next to open the Enter your registration information dialog box. |
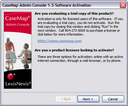
| 19. | In the Registration Name field, type in your user name for license registration. |
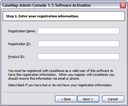
| 20. | In the Registration ID field, type in your registration ID. |
| 21. | In the Product ID field, type in the TextMap license number. |
| 22. | Click Next to continue. |
| 23. | In the Read the LexisNexis License Agreement dialog box, read the license agreement and then select the Yes, I will abide by the LexisNexis License Agreement check box. |
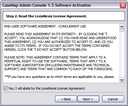
| 24. | Click Next to continue. |
| 25. | In the How do you want to activate this product dialog box, select the activation option you want to use. |
| • | Activate software online — Use this option to activate online with an active internet connection. |
| • | Activate by web browser or phone — Use this option if you received an activation key via email. |
| 26. | Click Next to continue. |
| 27. | In the Summary of online activation transmission information dialog box, review the license registration information. |
| 28. | Click Finish to complete the activation. |
| 29. | In the message box confirming CaseMap Admin Console activation, click OK. |
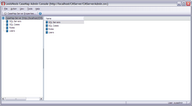
| 30. | In the CaseMap Admin Console, click the Connect button. |
| 31. | In the Connect to CaseMap Server dialog box, select Local User. |
| 32. | In the User Name field, type sysadmin. |
| 33. | In the Password field, type in password. |
| 34. | Click Connect to continue. |
The CaseMap Admin Console now opens with a connection to the registered server.
You can now install the CaseMap or TextMap SQL Import Utility programs, if you plan on migrating existing local case files to the CaseMap Server.
|


