![item image]()
25 Jun 2018
Author : InfoPro Community Manager
$core_v2_ui.GetViewHtml($post.File.FileUrl, "%{ AdjustToContainer = 'true' }")
Combine the Lexis Advance® sources and research tools you use most on your own custom pages
Now it’s easy to keep the Lexis Advance® sources and tools you use most at your fingertips—all on one page that’s organized your way—with the recently released Custom Pages feature. Quickly set up one or more Custom Pages, and access them anytime so you can start searching faster. Even make a Custom Page your starting page.
You can include the sources you prefer—for example, a mix of practice area, state and industry sources—as well as Lexis Advance tools for accessing research history, using the Get a Document feature or viewing a Shepard’s® report when you know the citation. Put content and tools in the order you need and easily add, move or remove them later.
Creating a Lexis Advance Custom Page
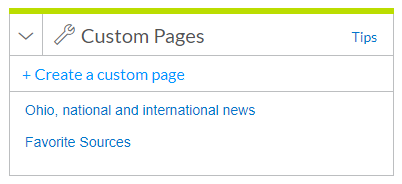
- Click the + Create a custom page link in the Custom Pages pod on the Lexis Advance home page.
- Enter a name for your Custom Page and click Create Page. Your Custom Page shell displays with the name in red in the upper-left corner.
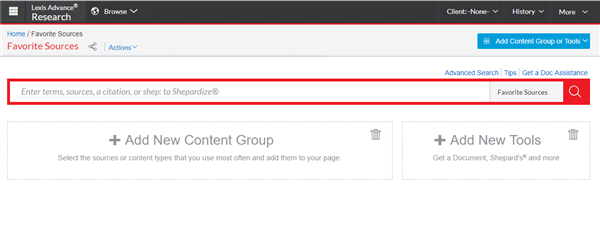
- Use the links displayed in the Custom Page shell, i.e., click + Add New Content Group and + Add New Tools, to include sources and tools such as Get a Document to your pages.
Adding content (sources) to your Custom Page
- Click the + Add New Content Group link displayed in your Custom Page shell. The Explore Content source hierarchy displays. You can search for sources or click through the hierarchy pages, selecting the checkboxes next to the sources or combined sources you want to add to your Custom Page. You can select sources on different hierarchy screens. Use the blue “breadcrumb trail” at the top left of your screen to return to hierarchy pages.
As you choose sources, a Selected Content list displays in blue on the right side of your hierarchy screen. You can drag and drop sources to reorder this list, or you can remove sources.
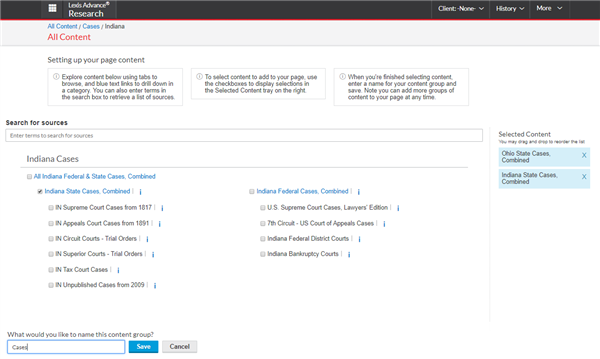
- Finished selecting sources? Enter a name for the content group/pod you are creating, e.g., Cases (see above, lower left). Click Save.
The Cases group displays on your Custom Page.
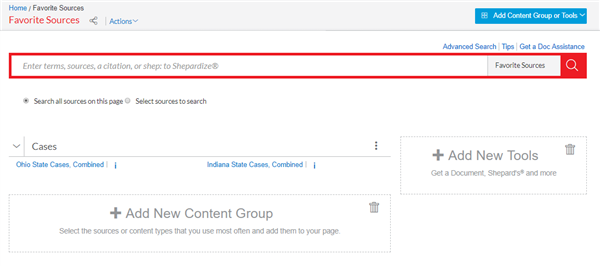
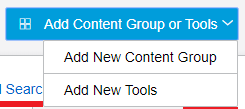
- To add more content (i.e., another content pod), click the + Add New Content Group link again or click the Add Content Group or Tools pull-down menu at the top right of your Custom Page and choose Add New Content Group.
- Repeat steps 1 and 2 of this section. When your Custom Page has two or more groups/pods, you can drag and drop to reorder the pods.
Find out more
It’s easy to do more with Custom Pages:
- Add tools to your Custom Page
- Edit your Custom Page content or tools
- Set your Custom Page as your Lexis Advance start page.
To learn more, view the Custom Pages Flyer or Show Me How video.
LexisNexis, Lexis Advance, Shepard’s and the Knowledge Burst logo are registered trademarks of RELX Inc. Other products or services may be trademarks or registered trademarks of their respective companies.