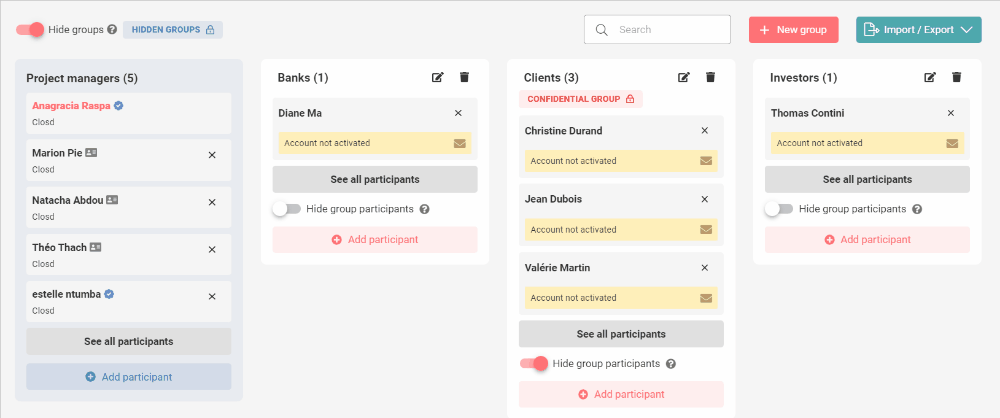
What are Groups for?
Groups allow Participants to be brought together according to common characteristics or interests (lawyers, clients, financial advisers, members of the same company, etc.). Project Managers can then share documents or assign tasks on the Checklist to an entire group. This simplifies the configuration of access rights.
How to add a Participant?
Before adding a Participant, you must create a group by clicking on New group. All Participants must belong to a group (even if they are the only member of it).

If you have a large number of Participants to add to your Project, you can invite them all at the same time via an Excel file (see question below).
Step 1:
Click on Add Participant at the bottom of a group, and then fill in the Participant’s name, first name, email address and company (optional).

Step 2:
Define the language the Participant’s profile will appear in (French, English or German).

Participants can collaborate in French, English and German within the same project.
The Participant can change their profile’s language at any time by clicking on their name at the top right of the screen and accessing their profile settings.
Then determine the settings according to the situation:
- You can defer sending the Participant a notification telling them they have been added to the Project by unchecking the “Invite to the project by sending an email now » button (for example if you want to add files and define access rights for those files before sending an invitation, or if you will only be signing documents using Simple electronic signature during that Project).
- If the Participant has to sign documents using Advanced electronic signature, an ID verification is necessary. Click on the “Ask for an ID verification » button so that the Participant in prompted to verify their ID the first time they log in to the platform. This will allow them to perform the ID verification before signing documents.
- You can also add a personal message to the invitation email by clicking on “Customize the Invitation Email.”
Click o, Add to confirm.
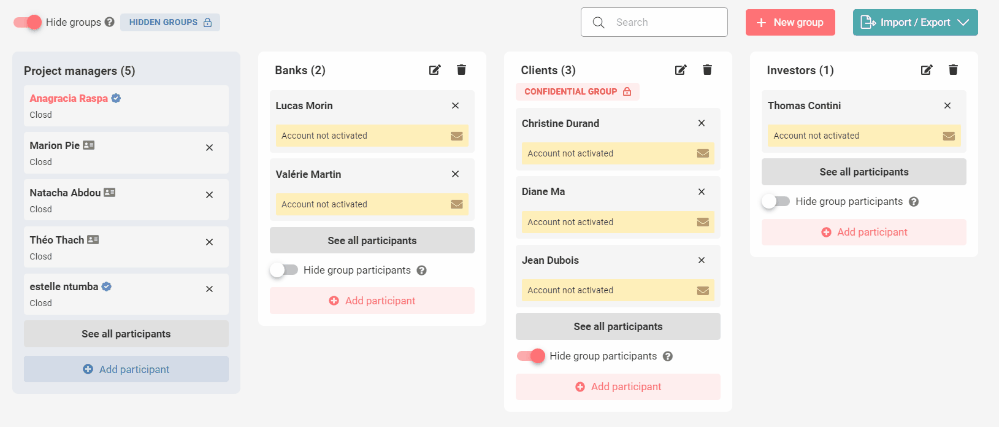
How to move a Participant to another group?
You can move a Participant from one Group to another by simply clicking on the Participant and dragging and dropping them into their new Group.
How to remove a Participant?
Click the icon next to a Participant’s name to remove them from the Project.
They will receive an email informing them that they no longer have access to the Project.
If you remove a Participant from a Project in which they have one or more documents to sign, the signature of those documents will be canceled. A message will notify you if this is the case when removing the Participant.
In case of an error, you can add the Participant again any time.
When to request an ID verification?
If a Participant will need to sign documents using Advanced Electronic Signature, ask them to perform their ID verification when you are adding them to the Project.
By checking “Ask for an ID verification” on the Add a Participant window, the Participant will automatically be prompted to perform their identity verification upon their first connection to the platform.
If you didn’t check the box, that’s okay. The Participant will be automatically redirected to the ID verification upon signing their first document with Advanced electronic signature. Checking “Ask for an ID verification” when adding a Participant simply prompts them to perform this step before they sign their first document.
How to import several Participants and / or Groups at once?
By clicking on Import/Export and then on Mass Import of Participants, you can invite several participants at once. First download the Excel file template and secondly, upload it (on the right hand side) once completed.

No need to create Groups beforehand: a Group column in the Excel file allows you to create them automatically once the file is uploaded back onto the platform.
We advise you to use the Import from file feature if you have at least 10 Participants to invite to the Project.
If you have any queries, please contact us:
By email: support@closd.com
By phone: +33 1 88 32 12 69