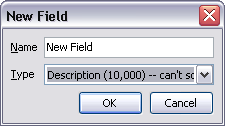
Creating custom fields
CaseMap spreadsheets include numerous pre-built fields designed to capture all of the data you want to organize in many cases. However, you can create custom fields to capture specific information not addressed in default fields.
Custom fields work in the program just like the default fields:
| • | Custom fields display in spreadsheet views and in detail dialog boxes. |
| • | Can be used to filter and tag spreadsheet data. |
| • | Print on reports as long as they are visible in spreadsheet views. |
You can create multiple fields types, including:
| • | Check box |
| • | Date |
| • | Description |
| • | Evaluation For detailed information on creating and using Evaluation fields, see: Evaluation fields. |
| • | Fixed lists |
| • | Open-ended lists |
| • | Numeric |
| • | Text |
Creating custom fields is an exclusive process. All other users need to log out of the case while this process occurs. If you want other users to access a custom field, it is best to create the custom field in the case before users are added to it. Otherwise, users will need to insert the custom field in their own spreadsheet view.
|
We recommend that you do not rename or copy an existing field to create a custom field. We recommend that you create a custom field and ensure that you select the proper field type for it. |
|
If you are using CaseMap Server and have a SQL case open, you may not have permissions granted for creating and deleting spreadsheet fields. If so, these features will be disabled or grayed out in the Select Field(s) to Insert dialog box. |
|
If your industry requires that you use symbols as part of your data entry, you could create a custom field to accommodate that need. See Learn about inserting symbols. |
Reference the following Creating New Fields checklist to brainstorm considerations when designing a custom field.
|
||||||||||||||||||
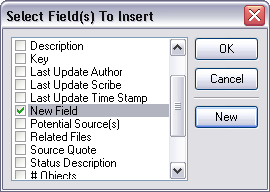
The inserted field displays to the left of the selected field.
The new field now displays in the Select Field(s) to Insert dialog box.
|


