You can use playlists to present multiple media items and clips back-to-back without any pause between them.
At a high level, the process of working with a playlist involves the following steps:
| 1. | Identify the media that you want to include in the playlist. Create media clips as needed. |
For more information on creating media clips, see: Creating and Editing Media Clips.
| 2. | Create the playlist. There are several ways to create playlists. These are described in the procedure in this topic. |
| 3. | Add media items or media clips to the playlist. |
| 4. | Edit the playlist as needed. This can mean doing any of the following: |
| • | Change the sequence in which items are played. |
| • | Change the name of the playlist. |
| • | Add or edit the playlist description. |
These actions are described in this topic.
| 5. | Add the playlist to a presentation. For more information on adding playlists and other items to a presentation, see: Adding and Removing Items. |
|
| 1. | Click the Media navigation bar. |
| 2. | Create a playlist using one of the options: |
The playlist appears in the list.
|
| 1. | Click the Media navigation bar. |
| 2. | Browse through the media folders to select the media item that has the clip you want to add to the playlist. For information about creating media clips, see: Media Clips. |
| 3. | In the clip list area of the workspace, select the clip you want to add to the playlist. |
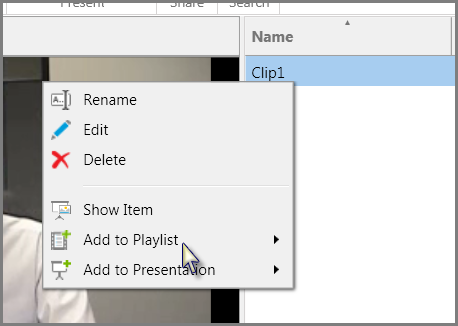
| 4. | Do one of the following: |
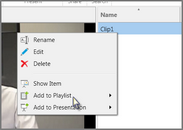
| • | Right-click the clip, click Add to Playlist, and then select an existing playlist or create a new one. |
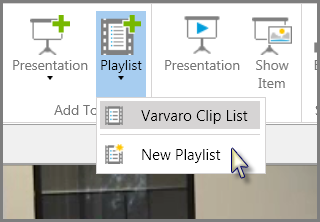
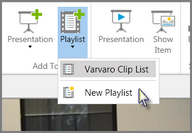
| • | On the HOME tab, in the Add To group, click Playlist and then select a playlist or click New Playlist to add the clip to a new playlist. |
The clip is added to the playlist.
|
| 1. | Select the Media navigation bar. |
| 2. | Select the Playlist bar and then select the playlist you want to change the clips for. |
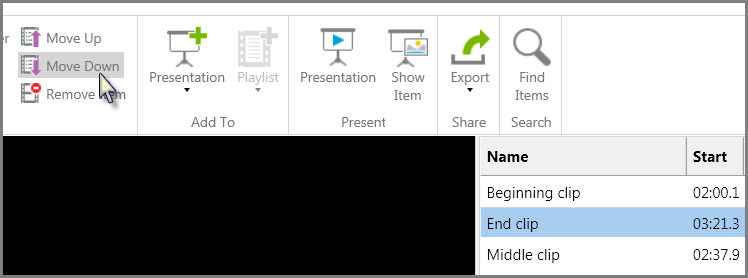
| 3. | Select the clip that you want to change the sequence for and then do one of the following: |
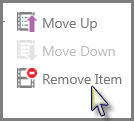
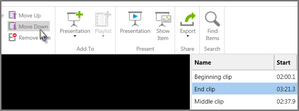
| • | On the HOME tab, in the Actions group, click Move Up or Move Down, depending on where you want to move the clip. |
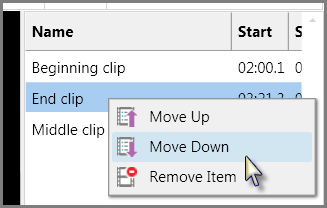
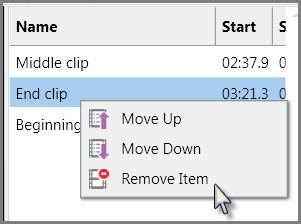
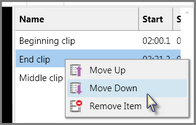
| • | Right-click the clip, and then click Move Up or Move Down, depending on where you want to move the clip. |
|
| 1. | Click the Media navigation bar. |
| 2. | Click the Playlist folder. |
| 3. | Follow steps as indicated in the following table: |
|
| 1. | Click the Media navigation bar. |
| 2. | Click the Playlist button. |
| 3. | Select the playlist you want to remove the clip from. |
| 4. | Select the clips you want to remove and then do one of the following: |
| • | On the HOME tab, in the Actions group, click Remove Item. |

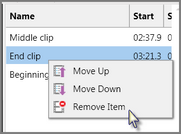
| • | Right-click the clip, and then click Remove Item. |
| 5. | On the HOME tab, in the Actions group, select Remove Item. |
The clip is removed from the playlist.
|
| 1. | Select the Media navigation bar. |
| 2. | Select the Playlist button. |
| 3. | Select the playlist you want to delete. |
| 4. | Do one of the following: |
| • | On the HOME tab, in the Actions group, click Delete. |
| • | Right-click the playlist and then click Delete. |
The playlist is deleted. Note that when you delete a playlist, the clips that the playlist is comprised of are not deleted.
|
| 1. | Select the Media navigation bar. |
| 2. | Select the Playlist button. |
| 3. | Select the playlist you want to add to a presentation. |
| 4. | Do one of the following: |
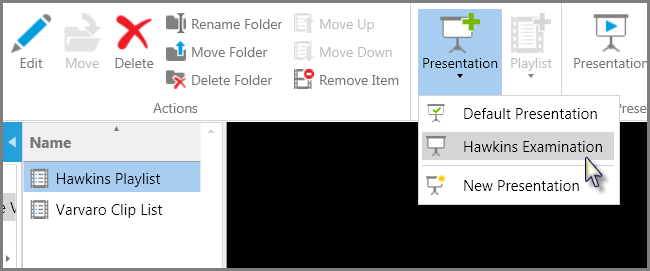
| • | On the HOME tab, in the Add To group, click Presentation and then select an existing presentation or click New Presentation to create a new one. |
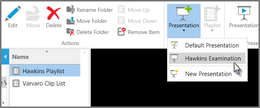
| • | Right-click the playlist, click Add to Presentation, and then select an existing presentation or click New Presentation to create a new one. |
| • | On the HOME tab, in the Present group, click Show Item. The playlist opens in the presentation window and is added to the current presentation. |
|
| • | From the presentation window, type the name of the playlist and then press Enter. |
The playlist opens in the presentation window and is added to the end of the presentation.
|