| 2. | In Lexis Advance, select the case(s) you want and then on the Cases menu, click the Email button  . . |
The Email dialog box displays.

| 3. | Click the Basic Options tab after confirming the documents to be sent. |
| 4. | Under the What do you want to email? area, select the Selected documents radio button. |
| 5. | In the To field, enter the recipient's email address. |
| 6. | In the Subject field, enter the subject/name of the email to be sent. |
| 7. | Under the Document Type area, select LexisNexis® CaseMap® and then click the Email button  . . |
Lexis Advance generates a CaseMap Document Package (.cmdocpkg) and a 'Delivery Complete' message when done.
The .cmdocpkg file contains document details (e.g., for case law: name, jurisdiction, citation, case summary, core terms) and a PDF of each selected document.
|

|
An email from Lexis Advance containing the .cmdocpkg file will be provided to the email recipient identified above.
|
| 8. | Open the email received from Lexis Advance, and perform one of the following: |
| • | Select the LexisNexis CaseMap Document Package (.cmdocpkg file) and save it to a secure folder/location on your system. |
| • | Double-click on the .cmdocpkg file. |
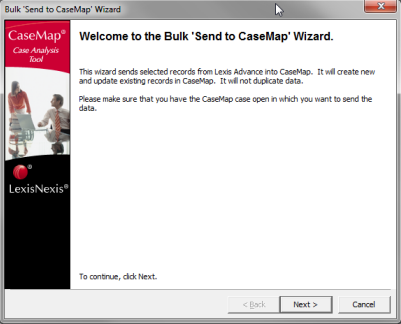
The Bulk 'Send to CaseMap' Wizard displays.
The Bulk 'Send to CaseMap' Wizard is used to import research into the Research - Authorities spreadsheet in your open case. CaseMap recognizes if a document already exist to avoid duplicates in the spreadsheet.
|

| 9. | When the Welcome to Bulk 'Send to CaseMap' Wizard opens, click Next to continue. |
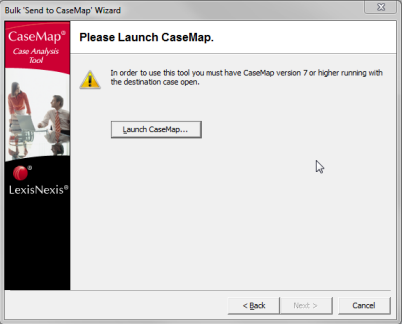
The Launch CaseMap dialog box displays.

| 10. | Click the Launch CaseMap button to open the latest version of CaseMap installed on your system. |
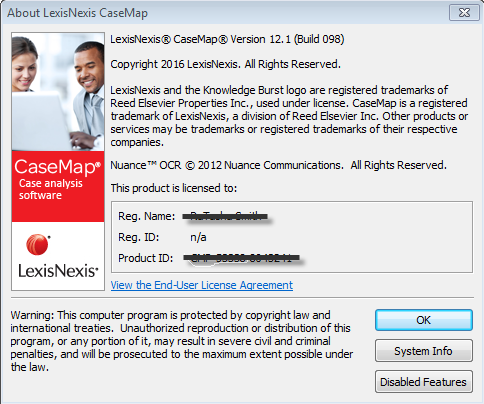
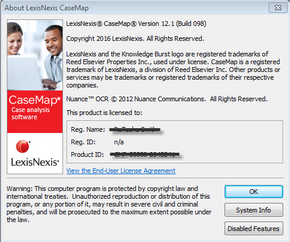
Please verify your version of CaseMap before continuing.
| a. | On the Getting Started page, click  on the menu. on the menu. |
| b. | Under the Product Information area, click the About CaseMap button to display the About LexisNexis CaseMap dialog box. |
|
| 11. | In the Open a CaseMap case dialog box, click the Switch to CaseMap button to bring CaseMap to the forefront. |
| 12. | In CaseMap, open the case that will receive the records. |
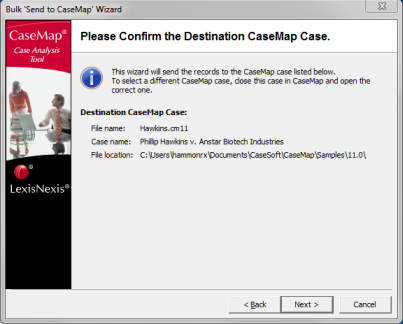
The Please Confirm the Destination CaseMap Case dialog box displays in the Bulk 'Send to CaseMap' Wizard.
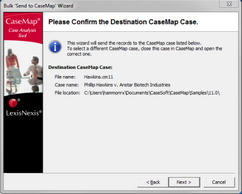
| 13. | In the Please Confirm the Destination CaseMap Case dialog box, verify the case receiving the records and then click Next to continue. |
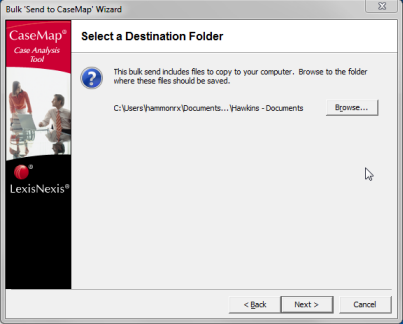
The Select a Destination Folder dialog box displays.

| 14. | Click the Browse button to select a folder where the records will be saved and then click Next to continue. |
The View/Edit Field Mappings dialog box displays. It allows you to preview, edit, and/or accept the preset default field mappings.
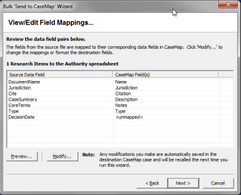
| 15. | Optional: Click the Preview button to display a data preview screen, and then click Close to continue. |
| 16. | Optional: Click the Modify button if you want to edit the default field mappings provided from Lexis Advance into CaseMap. |
| 17. | Click Next to accept default settings and to continue. |
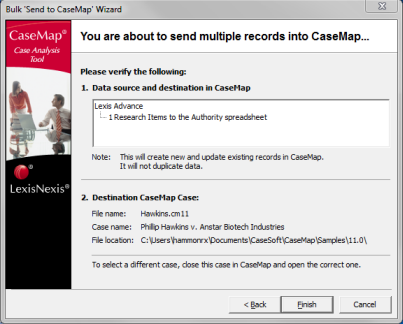
The 'You are about to send multiple records into CaseMap' dialog box displays.
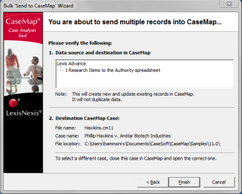
| 18. | Please verify the Data source and destination in CaseMap and Destination CaseMap Case. |
| 19. | Optional: To select a different case, close this case in CaseMap and open the correct one. |
| 20. | In the You are about to send multiple records into CaseMap dialog box, click Finish. |
A Bulk Send to CaseMap message is displayed confirming the number of records that was added to the Research - Authorities spreadsheet in your open case in CaseMap.
For information on analyzing research data and using other fields in this spreadsheet, see Analyzing and linking research.
|