<< Click here to display Table of Contents >> Navigation: Using Sanction > Presentations > Run Presentations:
Displaying Items

Contents
From within the presentation window, you can select items for presentation in the following ways:
| • | Move between items in a linear sequence like a slide show. |
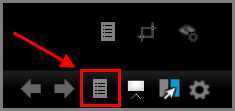
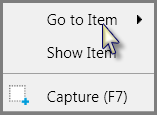
| • | Pick items from a list. |
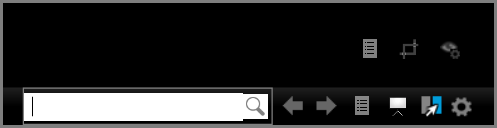
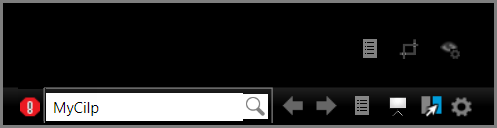
| • | Type the item name, exhibit number, trial exhibit number, or Bates number. Using this method, you can type into a visible search box, or blind type the search. Either way, if the item that you type was not already included the presentation, it is added to the end of the presentation. |
The presentation advances to the next item. Note that at the start of the presentation, until the forward button is clicked, the previous button is inactive. When the last item in the presentation is reached, the forward button becomes inactive. By default, when the presentation window is set to a display mode of Side By Side, 2 Across, or 4 Quadrants, the next item and previous item buttons focus on the most recently opened item window. However, you can configure the buttons to operate on whichever item window you want. For more information, see: Displaying Multiple Item Windows. |
|
In the presentation window, do either of the following:
The search box opens in the presentation tool bar.
The item opens in the presentation window. If the item was not already a part of the current presentation, it is added to the end of the presentation.
|
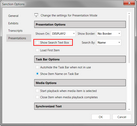
Blind typing is enabled by default. The following procedures tells you how to make sure that blind typing is enabled and that the search function is set to the item property you want to search by. With blind typing, all you do to display an item is type its name, exhibit number, trial exhibit number, or Bates number, depending on which item property the search is configured to accept.
The matching item is displayed in the presentation window. If the item is not already part of the presentation, it is added to the end.
|

Need additional help? Email Sanction support at: casemap.support@lexisnexis.com, or call 800.833.3346 (option 3). Support is available Monday - Friday from 9:00 a.m. to 7:00 p.m. Eastern Time.
© 2018 LexisNexis. All rights reserved.